Showing posts with label velcro. Show all posts

Tuesday, February 19, 2013

Halloween 2012: Homemade Vampire Princess Costume

I took some time away from the blog to get some real-world stuff done, most of it involved travelling to warmer climates. Haven't had time to sew much, but thought I'd jump back in where I left off-  Halloween!

My daughter wanted to be a "Vampire Princess" for Halloween which sounds ludicrous because it is, but she is 5 and I guess I should just be happy she wanted to be something only sort-of scary and that she didn't want to be a sexy kitty or something truly horrifying. 

A Homemade Vampire Princess Costume! 
This was her final fitting-- if you look close you'll see the trim isn't applied around the edge of the train yet and no black, bedazzled plastic crown.  The necklace was made with a black choker I had leftover from the '90s and a black brooch piece I picked up in Michael's tacky-jewelry making department.
I once again started with a commerical pattern and then totally ignored it.  The pattern in this case was Simplicity 2065, the "Tangled"-inspired Rapunzel costume.  I chose it because I thought it was more Medieval looking then the more poofy princessy dress patterns which kind of all look like overwrought 1950s ball gowns, really. 

 I got this on sale, so I don't feel quite so bad about barely using it.

For the bodice:  I immediately made some changes.  I omitted the ties and so adjusted the pattern pieces down an inch or so, making the center "stripe" a little thicker all the way down.  I also raised the neckline since all the Disney patterns seem to have a low neckline problem.  Plus, vampires don't wear a scoop-neck. I discovered over on PatternReview.com (beginner's tip:  pay the money and join, it is totally worth it!) that the neckline was also a bit wide so I narrowed that up too.  Instead of a zipper I put in Velcro.  My Aunt Gail helped me to figure out exactly how to place that-- I had it pinned in wrong for a couple of days and couldn't figure out how to fix it.  I also may or may not have lengthened the bodice-- I honestly can't remember, but it seems vaguely true.  I also omitted the stripes on the puff sleeves and instead of a sheer arm I went with a dark red shantung.  Insetting the puff sleeve was no problem at all.  Super easy.


Have I ever mentioned how difficult it is to tailor anything to a child?
 "Stop moving so I can poke you with pins!"

Please note these are the first full length sleeves I've made.  Yeah for me!  They turned out pretty well though I realize the straight arm proportions of a kid are much easier to fit than an adult. 


For the skirt portion:  The photo on the cover of the pattern is totally misleading.  Either that girl is wearing a crinoline or she has an enormous elephant ass.  Either way, if you follow the pattern your skirt will NOT be as full as the picture.  It's a simple drindle skirt (which I didn't even know what that was until I made this, but think Oktoberfest Barmaid instead of Cinderella) and is damn boring.   I didn't want poofy but I guess I didn't want flat either.  As soon as I cut it out and pieced it together I knew I was going to have to fancy-it-up somehow. 

The train (again without the trimmed edge). 
The curve was key; leaving it a rectangle would have looked stupid.

My solution was to convert the sheer overlay that split in the front into a full on Princess Diana-esque lace train.  Okay, maybe not that long, but chapel length at least.  This took math, figuring out where to place the lace, how many inches in to make it even at the sides and fashioning a curve (on my own) so it would puddle prettily on the floor.  I have no idea how I figured it all out, but I did.  I omitted the lace trim along the seam with the bodice since I was going to have to insert the lace train. It's a little hard to see in the photo but I flipped down the top of the lace so it had a nice ruffle along the inserted seam in the back.  I finished the train with matching trim and then sewed in a hook and eye to bustle it... which is something I always do backwards.  This costume was no exception. I then hand sewed it small plastic spiders scattered into the lace.  Bats would have been better, but they had spiders at the Dollar Tree so that's what we used.


The bustle hooked up. 
This was Halloween night, when it was POURING rain outside, so I was damn pleased with myself for thinking of the bustle.  Note the lace now has a totally trimmed edge.

Notes on the project:  The only real issue I had once the dress was made was the length.  It was about a half inch to an inch too long and she had some problems at school with it.  Because of the weather we trick or treated only a few houses in town so it wasn't a huge hindrance at night since she was lifting it to avoid puddles anyway.  She wore black wrist length gloves which completed the look.  Fake vampire teeth were rejected-  too much spit according to Abby.  I also hot glued the hell out of a otherwise blank black crown adding tons of rhinestones and spiders.

Cost:  I got all the fabric (black stretch velvet, dark red shantung and the matching red lace) on sale.  I had the Velcro, the thread, hook & eye, and reels of black lace trim in my stash at home.  Total cost including the dark princess tiara, gloves, spiders, rhinestones and face make-up was around $80-90.  I'd estimate this costume took me around 16 hours to complete.  If you know what you are doing and actually follow the pattern I'm sure this would take way less time.

Verdict: Success!  It was exactly what Abby wanted which was a vampire costume that was pretty and not too scary.

Abby (The Vampire Princess) and Henry (Alien in Flying Saucer) give the camera their best Halloween scare faces!


Sunday, October 28, 2012

Homemade PECS Visual Schedule for Kindergarten

Thanks, Ryan.  I know. 
Ah, PECS.  If you know what they are without having to click on the link, well then, we're in a special club together, aren't we?  Your kid has autism of some variety or is otherwise "spirited".  Abby's diagnosis matters less and less to me as long as she is getting what she needs to succeed. 

A short day.  Removed one so you can see the Velcro strip beneath.
So, this is what I've been up to on the craft front... though that's more necessity then creativity.  It is a serious pain in the ass, to be honest. We are very fortunate that we only need to use PECS to let Abby know what to expect for the day, as a visual schedule, so please don't think I'm being ungrateful. She has zero trouble communicating and in fact I'd be happy if she STOPPED talking, but she can be very slow to adapt and any unexpected transition has a 50/50 shot at causing her to meltdown like Chernobyl.   The visual schedule is a recommendation from her behaviorist and does seem to help!

I went around and took photos of everything she's likely to encounter in her school day, from her mat at "Morning Mat Time" to her Spanish teacher (who, yes, looks like a model even when I catch her running to her car after school) in order to make Abby individualized images.  This was WAY more labor intensive then I'd anticipated and I seriously appreciate the pre-packaged sets now, but for our situation doing it myself was the only way to go.

And let's not forget about this guy!  Henry doesn't get what the big deal is with the schedule and the stories and the endless appointments and playdates, but is aware his sister is getting some disproportionate attention--  I've solved this by actively playing video games with him.  Sad, but true.  He's thrilled!
 
Obviously there are lots of ways to make your own PECS, but I stole a bunch of ideas from the Internet:

1.  Since Abby doesn't need a million of them to communicate, I went ahead and enlarged the standard format from 2X2 to a much less likely to be lost 3X3 inches.  This makes everything easier to see and read, but it also means commerically available PECS pockets and folders won't work with my homemade ones.

2.  I laminated mine onto cardstock-- this makes them more rigid and sturdy.  I used a non-descript color so I don't have to worry about matching it later when I need to make more.  The cutesy-colored and decorated ones are great and all, but if you have a kid who values "sameness" this is key.

3.   Blank PECS!  This is a brilliant idea.  Like with our chore charts, I just write on the laminated square with a dry erase pen if something unique is happening in her day and I need to give her a heads up.  For instance, I'm not going to make her a special PEC for an "Earthquake Drill" she only does once a month.  Plus, how do you make a non-terrifying image for that??  I stuck Velcro to the pen and attached it to the binder too.

If only these emoticons were gifs...  moving them back and forth with my hands isn't the same.

4.  The folder that IS the chart:  stole this idea from Pinterest but can't find the image now... that said, go ahead, search Pinterest for the word "PECS"...  pretty nice treat for Mommy!  Anyway, this is great.  I used a standard binder (make sure it is the kind that will lay flat), sticky backed Velcro, hole punched sheet protectors and plastic dividers. The dividers must be plastic, the paper ones no matter how sturdy will rip. The sheet protectors keep her "Social Stories" neatly organized, her teacher's rough (to the point of uselessness, but that's just me bitching) daily outline, and her weekly "smiley face reports" safe.  All her interventions are in one place!  The Velcro strips on the cover are for today's schedule, any PECS not being used are stored inside on the dividers.  

Social Stories deserve their own post since they are in some ways the most creative part of this whole mess.  "If I Am Late to School.." is our most recent project.  The ones that gets the most use are "When It is Time to Stop My Work..." and the infamous, "Recess is Over and..."
Things are improving for Abby and I am grateful, but it is intense and, to be honest, costs a fortune.  It leaves me little time for my own hobbies and interests (and friends and sleep and coherent thoughts) so that is why the blog has been dead.  I do have some awesome Halloween costumes to post before the holiday!  Watch out!

Sunday, March 18, 2012

St. Patrick's Day: Little Girl Evening Gown

An elegant dress for a four year old, isn't it? We added the shamrock sash and glittery crown for that oh, so sophisticated touch. And who needs shoes anyway?  Footwear is so cliche. 
The Shamrock Princess- so regal.  She is above looking at the camera.

Actually, my husband and I attended a big fancy-shmancy party last night where after a few hours I was wishing desperately shoes were optional.  I really do hate heels. 

The back.  In person the green is more electric then it is showing up in photos.  I should have made a fake bow for the sash, didn't occur to me until right now.  The sash kept slipping during the day so I should have inserted little loops in the side seams to keep it at her (non-existent) waist.

I realized Friday afternoon that I haven't made Abby anything in ages and felt kind of guilty. I got a bee in my bonnet and whipped up this dress.  It is made with the cheapest costume satin ever produced which I think I bought last year imagining I'd make a Tinkerbell costume for her.  The sash is leftover from Viv's jumper, one of three St. Patrick's Day projects I did last year.  I'm slacking.

No sash = pleats in action!

Notes on the project:  Used my turning tool for the first time with the sash, though I'm pretty sure I used it wrong, but whatever, it was long and pointy.  Used the same bodice pattern from Little Girls, Big Style I've used before (it is a really easy pattern, I recommend for beginners highly) and I made the same mistake I did before which was not make the straps more narrow.  I think they are just too wide, or perhaps Abby is just that slight.  I've made a note in the book now so I'll remember if I do it again.

I did pleats instead of gathers for a more neo-classic look and made the skirt longer for the "gown" effect and wider to accommodate the pleats and so cut the two sides of the skirt at 25" X 25" each. I lined bodice with muslin, but not the skirt. The only other change is the buttons:  I couldn't find my button-hole foot (I didn't look too hard) so I just sewed in Velcro and put fake buttons on the outside.  I think in the future I'm just going to put a zipper up the back of the bodice and sew the straps into both sides.  It will look a lot neater. 

Cost:  Took me maybe three hours?  Maybe four-ish.  Went way faster then last year's St. Patrick's Day dress and was considerably less stressful.  I already owned all the fabric and it wasn't terribly high quality so I'd guess $5.

Verdict:  Preschoolers do not need evening gowns.  It is a tripping hazard.  That said, success!

This is Abigail's fake beauty queen reaction:  "I can't believe I won!  Little ol' me?!"

Tuesday, November 1, 2011

Halloween 2011: Homemade Kids' Costumes FINISHED!

 Halloween did not go smoothly this year.  My daughter and I are both sick.  Poor Abby has missed a week of school.  My husband lost me and was nearly convinced I'd been kidnapped (I was waiting for him at the end of our driveway... with a flashlight).  My costume is only 90% done on November 1st.  We only trick or treated about 6 houses in total.  It took us longer to drive into town. All in all, a poor showing considering the amount of forethought put into this holiday. That said, the kids sure looked great!

No jacket version with whip and idol.

Henry's costume was a huge hit at his school.  He had to leave the whip at home since it is technically a weapon, but he brought the legendary artifact, "The Glittering Gargoyle".

I tried to get Henry to make up an adventure to go with this "artifact" but his tale sounded suspiciously like the beginning of Raiders of the Lost Ark. "And then there is traps!  And a big rock!"  He knows better then to mess with a classic, I guess.
This was made with a Dollar Store statue, some gold spray paint and about a thousand rhinestones.  And hot glue!  I burned the hell out of my hand before realizing it was way easier to spread the glue directly on the statue instead of trying to dot glue to the back of each tiny stone.  I'm an idiot. 
Indiana Henry prepares for adventure surrounded by his sidekicks.  His "girlfriend" is the mermaid on the end.  Dr. Jones is a ladies man.

Jacket version.  I have no idea why he is winking. He's a charmer!
The whip started life as a complicated five strand weave.   I was using a two lengths of yarn for each "strand" so that it would be thick enough.   This was a disaster that required a glass of wine before I started over.  I gave up on the 5-strand/pair approach quickly.  I ended up braiding two sets of three and then plaited them with another set of two strands of upbraided yarn to make it.   The handle is duct tape as you can see, (which was super stable and by far the easiest way to make a handle).  The tape was wrapped in black ribbon in an overlapping x-pattern at one point, but that did not last until today.  I'm too lazy to re-do it so you'll have to trust me that it looked fine. 

Pumpkins from the garden behind her... we never carved them.  We're slackers.

Snow White, while very ill, posed like a champ for these photos.  Her collar and cape were made without a pattern because, again, I'm an idiot.   I buy patterns and then just do what I want, apparently.  I've yet to follow an entire real pattern.  I alter the hell out of them despite the fact that I don't know how to sew.  I have no excuse!  Her accessory here is a tweeting blue bird like the ones that follow Snow White around.  Abby also has a plastic poison apple that did not make it into the photos.

Don't forget the sparkle shoes! 

The collar I drew freehand straight onto the satin and used standard interfacing on both pieces to make it stiff.  To get it to fold over properly, i.e. to frame her face but not block her vision, I sewed small pleats into each edge.  I used Velcro to attach it to the inside of the dress-  I sewed the prickly part to the collar and ironed in no-sew Velcro (soft side) into the dress.  If I'd been smarter I could have sewed it to the lining before assembling the bodice, but I didn't think of that. 

The cape, since I didn't follow the pattern, was super easy.  I seamed two rectangles of red stretch velvet together and used a simple hook and eye as a closure.  To keep it from falling over her shoulders and obscuring the laborious puff sleeves I tucked the edge into the back of the dress between the collar and the bodice- the fabric hooked a bit on the Velcro hidden back there and so didn't slip out.  The cape didn't serve to keep her warm since I didn't have it covering her arms, but it was nice enough here in California that it didn't matter.  The velvet draped really well and I'm glad I didn't use more of the cheap satin. 

A grand curtsy.

Notes on the projects:  Indiana Jones was easy, in part because I bought the pants, shirt and jacket... which is kind of the whole costume.  Really I only made the whip, satchel and idol.  But I did hunt down the hat!  Snow White was much harder and required a whole list of things I'd never done before, including (sort-of) using a commerical pattern and all that entails:  a tracing wheel and pattern paper, cutting notches and matching dots, etc.  Plus, the dress itself required me to sew darts, make sleeves and do insets all of which I'd never done before.  I also tried corded gathering for the first time which didn't work out and I was forced to take in the bodice (alterations!)  and use all sorts of materials I'd never worked with (velvet, satin, metallic trims).  If I made Snow White again using this bodice pattern I'd for sure raise the neckline and narrow the shoulder width.  Oddly, there was never any directions for sewing a seam up the back of the bodice which was weird, but I guess it is pretty clear that it needs to be done.  The true work was done by my housekeeper who cleaned up after me.  It's amazing how many bits of thread and scraps of fabric I can create making small children's clothes.

Verdict:  Boo!  Did I scare you?  Halloween rules.  Learned a ton making these costumes.

Cost:  I estimate these costumes cost me between 2,000 pesos and a gazillion euros.  Maybe 600 galactic credits?  I really don't know.  A LOT is the answer. 

Update on Cleopatra as soon as it's finished-finished!  It's crepe-back gold satin and bejeweled!  I know you can't wait.

Sunday, September 25, 2011

Halloween 2011: Snow White, Twice.

I've had an exhausting and stressful week.  I turned to Diet Pepsi and my sewing machine for solace.  Okay, and ice cream too.  Shut-up.

Thursday night I finally attached the Snow White skirt to the bodice I finished weeks agoIt did not turn out well.

HA! 
This is the only picture I took of Snow White v.1 for obvious reasons.  Scroll down to preview v.2 if this horrifies your sewing sensabilites. 

Clearly, this is hilarious and in no way is it wearable.  I'm going to be so sad when Abby gets old enough to have taste:  she loved this rendition and kept telling me how beautiful it turned out.  I had to bribe her out of it!  Her love for it was too sweet for words and made me happy to have a daughter.  I tried hard to not giggle as she twirled around blissfully in this awful, ill-conceived costume.  My husband did not even try.  He just laughed, loudly.

So what went wrong?  Many, many things.

- the bodice is way too wide.  While it fits well through the chest her shoulders aren't even close. This was the only part of the dress that I used the pattern for so I'm not sure why it turned out so huge.  The sleeves are half way down her arms!

- around the waist it looks like she's used the dress to shoplift 10 bags of marshmallows.  I did the gathering on the skirt with a cording technique instead of gathering stitches which turned out not to be that much easier and it just added bulk.  Sewing it to the bodice evenly proved impossible, hence the weird pleat on one side and the total lack of a subtle v-front.  It seems to be oddly twisted too.  WTF?  Terrible. 

- you can't tell by looking at it but despite the wide top it was super difficult for her to get in and out of it.  There were some contorted moves with her arms that had to go on, only to look like it was falling off of her when she was wearing it.

I waited for Abby to go to bed and then took the whole thing apart, stitch by stitch.  That took an hour.

And then I stared at the pieces.  And stared at them some more.  Then looked up Snow White dresses on Etsy to make sure I could order a decent homemade one from someone.  There were lots of pretty ones, (I especially loved this country-inspired cotton one, though Abby would be disappointed).  That said, I only found two with a velvet bodice and proper sleeves.  This one is $500 but is really nice.  Still, $500 for a child's costume and the skirt portion was cotton, not satin.  This second one is $329.99 and is stunning but I don't like the sequined ric-rac and the sleeves aren't inset, but red with blue ribbon strips tacked over, plus I intend to make the cape out of red velvet not satin.

I then went to the fabric store and re-purchased all the fabric in case I had to start from scratch. I didn't and now I have an extra 2 yards each of navy stretch velvet and shiny gold satin.  Can you return fabric?

Snow White, v.2 is much improved, though not perfect.

This dress cannot attend your party as it has a prior engagement with my ironing board.  Regrets.


-I cut the cord entirely from the skirt, separating the lining and tulle as well.  It was therapeutic in a way.  Luckily, I'd hemmed it a little long anyway so losing those inches was not a problem.


-Then I took a deep breath and my shears and sliced up the back seam on the bodice.  Scary!  I cut about a quarter inch out of center (lining included) and then folded in about a quarter inch on either side and hemmed the raw edges.  I then stitched a strip of black Velcro into it.  This not only made the bodice fit better it also made getting in and out of it about a million times easier.  It could still be a little tighter and if I'd re-cut the bodice I would have raised the neckline an inch.  It is a touch low for a 4 year old. The Velcro closure is a little bulky, but it will be covered by her cape eventually anyway.

Velcro to the rescue! 
-I ditched the lining and the tulle on the skirt portion.  Instead of doing a gathering stitch I decided to just pin pleats into the skirt portion.  It was a lot easier to control and keep even all the way around and I didn't have to worry about breaking a thread. The v-front could be more pronounced, but I'm okay with how it is now. 

-Now that the sleeves aren't at her elbows you can see how puffy and pretty they turned out. 

I also cut her hair this weekend.  My scissor skillz are immense!  Needless to say she loves it.  I may or may not try a crinoline under it.  We'll see.

Up next is Snow White's cape and the stand-up white collar.  Hopefully, that will go a lot smoother!  Couldn't possibly go worse.

Linkys!:

Thursday, January 27, 2011

Sewing Project: Playroom Ottoman Slipcovers

When moving into this house I intended to have the house re-wired so that we'd have a home without the standard family room and (often unused) formal living room, but rather a playroom (without a tv) and a more adult living room/tv space. 

That never happened.  The re-wiring would require lots of money and someone brave enough to crawl under the house so instead I've defaulted into a family room filled with toys that we call a playroom and a formal living room that I force everyone to use so as to not waste the square footage and better natural light.  The point I'm trying to make is that the playroom became the default spot, a place where 'useful'  and 'comfortable' far outweigh 'attractive' or even 'mildly appealing'.  Enter the ottomans:


These are in much better shape then mine.  No before pics because they were that gross.

These are them, in an image stolen from whence I purchased them, Overstock.com.  They are cubes of stiff foam that you can sit on if needed and can kick and flip around with your feet for optimal lounging comfort.  In our old home the dark sage green matched well with the decor in our great room.  In this house,where we inherited a lot of furniture and other pieces, including the rug in the playroom, they don't go at all.  Their constant use for snacking and grubby kid handling have also made them dirty beyond the help of even Resolve Foam Cleanser.   


So I slipcovered them!

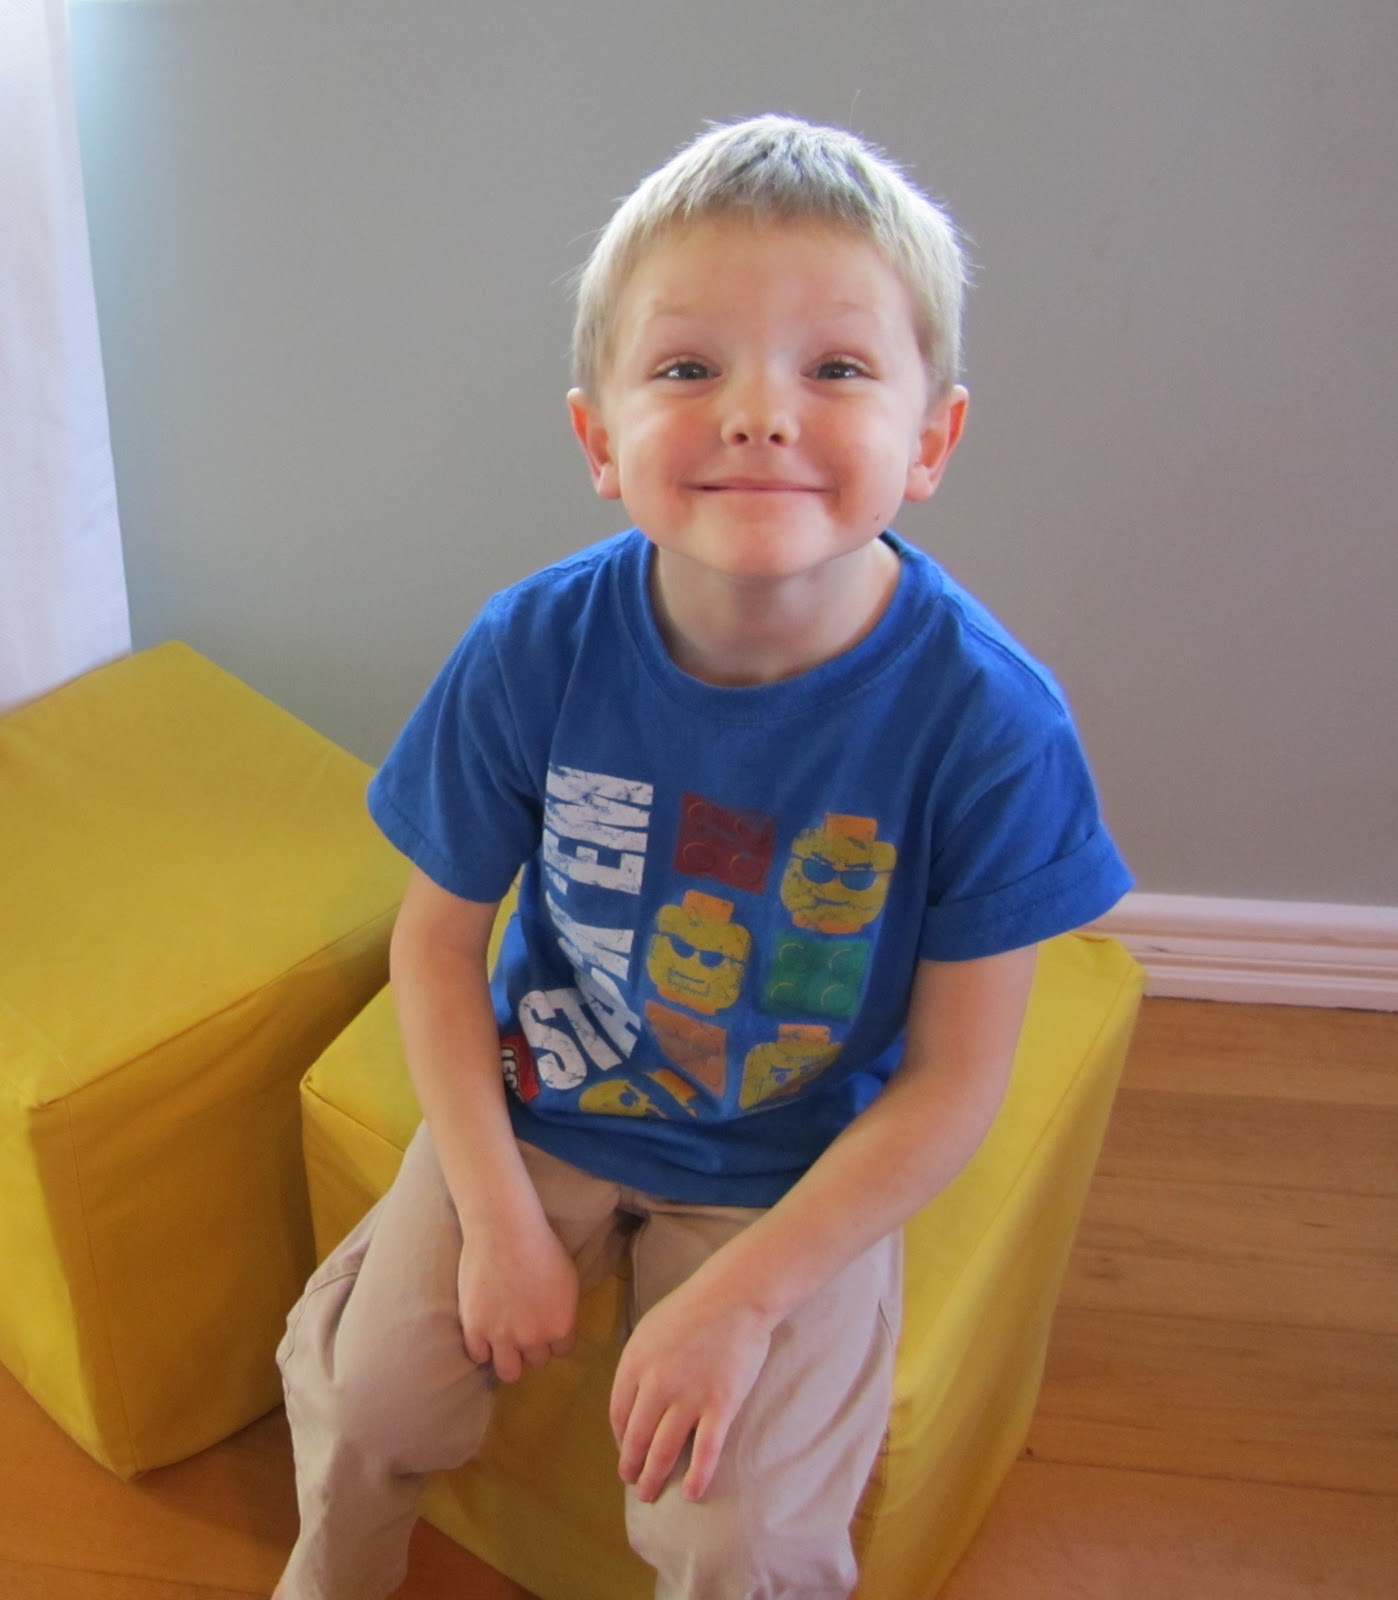
Yellow!  Happy!


Top stitching detail. 


Henry approved!

Thanks to this great, simple tutorial on Sew Much Ado I was able to whip out the first one in an evening and the second took me a little more then an hour.  What a huge difference.  They are now bright and sunny and not gross and worn. 

Notes on the project:
-the project was easy.  Seriously.  Be not afraid of the simple slipcover.

-the hardest part was the measuring.  Since my ottomans are foam based and old the edges aren't exactly sharp, more rounded, but not evenly.

-I didn't want to topstich the seams and had to talk myself into following the tutorial exactly.  Very glad I did.  It isn't that noticeable, but it makes the project look finished in a way that it wouldn't without that step.

-I Velcroed mine to the bottom so I could take them off and wash them as needed.  I might need to add some more Velcro- I had just done the corners, but it's been a week and the covers are shifting a bit more then I like.  We'll see.

-Seriously want to slipcover the couches in the playroom now...

-Cost was $4.99/yard for the yellow duck cloth on sale. I used about a yard and quarter.  The Velcro I had on hand, but had to buy thread to match in that same bright shade.  Total: $6.90-ish, plus about three hours.

Verdict:  Love them!  I made something useful and attractive.  Made me want to kiss my sewing machine. 

Upcoming Projects: Not Yet Blogged

a rundown of what I've been up to: DIY wedding dress, "Back to School Night" decor, Flower Arranging for the Incomptent, more jam labels, a dog bed solution, paper embroidery, flying pig needlework, attempting to scrapbook, make your own board game kit, Link from Zelda costume, organinzing for homework, and how to build an afterschooling program!

how to declutter after a death... and how not to do it

what do you do with all your fat clothes? Make doll clothes!