Showing posts with label duck cloth. Show all posts

Sunday, January 30, 2011

Sewing Project: Valentine's Day Chair Backers

I always loved the idea of the holiday chair backpack/mailbox.  I'd eye them in the endless supply of PB Kids catalogs sent to me, but they were always too expensive when you add in tax and shipping and personalization.  A $12 item suddenly costs $38.  Times two, of course, because I have two kids.  So when I saw this post over on At Second Street, I was super excited.  "Hey!  I own a sewing machine now!  I can totally do this!"

I love everything about this ad.  Look how perfectly everything coordinates!  Don't you love how none of the baskets are overflowing?  How none of the chalk labels are rubbed off?  How clean those chairs are? That rug has not a single stain!
 
After inspecting all the variations I went with the chair back tutorial on Our Scoop which was great in that it is PDF format.  I print these and file them neatly in labeled manila folders,  (I know!  Super organized, right??), and PDFs print so much neater then straight from the web stuff.  I'm always super grateful for online tutorials which are free and a ton of effort on the part of the creator.  So thanks!  Probably due to my complete inexperience I had a couple of problems with these directions though... I eventually figured out how to sew the bottom and sides to the front and back by ignoring the directions and thinking of them as tiny cubes like the ottoman slipcovers I made.  I never could figure out how to do the rickrack properly.  How in the world does it end up on the outside when you sew the two pieces right sides together...whatever, I couldn't sort it and my rickrack isn't nearly as cute since it's all on top.  I'm going to work on figuring this out at some point.

Following directions, word for word.  Until I get confuzzled.


Low light is a friend to wise women and beginner's sewing projects.


I did the second one a bit differently because I only had two buttons left, but they look cute together.  The letters are all whip-stitched on by hand with pink to go with the pink rickrack. 

The biggest obstacle for me was the button holes.  I've (clearly) never done it before and it took me a lot of trial and error and plenty of Googling and curse words to figure it out, but now that I know how it is done, it is not difficult at all.  I intend to make button holes on everything from now on, whether buttons are called for or not.

Notes on the project:
-these aren't especially easy.  The first one took me forever.  Hours and hours, literally.  Figuring out the buttons was a huge pit of time suckage.  The second one went faster as far as sewing goes, but all the hand stitching took awhile. 

-interfacing is key to keep the square shape.  Some of the other tutorials have more of a pouch and less of a boxy look, but I liked the structure.  It comes as at a price though: that ironing takes time too.

-the red duck cloth I used I thought would be great for durability but the straps on the back are kind of fraying at the edges, felt might have been a better choice.

-I wish I'd used a more contrasting fabric for the second one's cut out and applique work.  The red with large white polka dots just don't stand out as much. The reverse (red on white) would have looked better.

-I tried to top stitch in white around the heart cut out on the first one and it didn't turn out.  I ripped it out.  The edge is a little too raw for my personal taste without it.  I just learned about finger pressing yesterday and wish I'd known about it when working on these. 

-a tip for beginners:  After I finished the first one it occurred to me that the only chairs in my house these could attach to are the kids playroom chairs so make sure you have chairs with back slats somewhere before you do this project.  Duh!

-cost was pretty low in terms of dollars.  The fabric for the outside and the lining were both on sale, about $4/yard I think.  I might do a tutorial on how to read a Joann's receipt.  The Dritz button kits were $2.50-ish and I bought two, plus the thread, rickrack and interfacing (on sale, too) brought the total up to about $18 for the two chair backers.  In time, these took me close to nine hours, almost all of which was spent on the first one.

Verdict:  Cute!  Learned how to do buttons so that was huge and "saved" about $30.   Now of course I have to fill them with lovely little notes and gifts... I should have included that in the cost.

Thursday, January 27, 2011

Sewing Project: Playroom Ottoman Slipcovers

When moving into this house I intended to have the house re-wired so that we'd have a home without the standard family room and (often unused) formal living room, but rather a playroom (without a tv) and a more adult living room/tv space. 

That never happened.  The re-wiring would require lots of money and someone brave enough to crawl under the house so instead I've defaulted into a family room filled with toys that we call a playroom and a formal living room that I force everyone to use so as to not waste the square footage and better natural light.  The point I'm trying to make is that the playroom became the default spot, a place where 'useful'  and 'comfortable' far outweigh 'attractive' or even 'mildly appealing'.  Enter the ottomans:


These are in much better shape then mine.  No before pics because they were that gross.

These are them, in an image stolen from whence I purchased them, Overstock.com.  They are cubes of stiff foam that you can sit on if needed and can kick and flip around with your feet for optimal lounging comfort.  In our old home the dark sage green matched well with the decor in our great room.  In this house,where we inherited a lot of furniture and other pieces, including the rug in the playroom, they don't go at all.  Their constant use for snacking and grubby kid handling have also made them dirty beyond the help of even Resolve Foam Cleanser.   


So I slipcovered them!

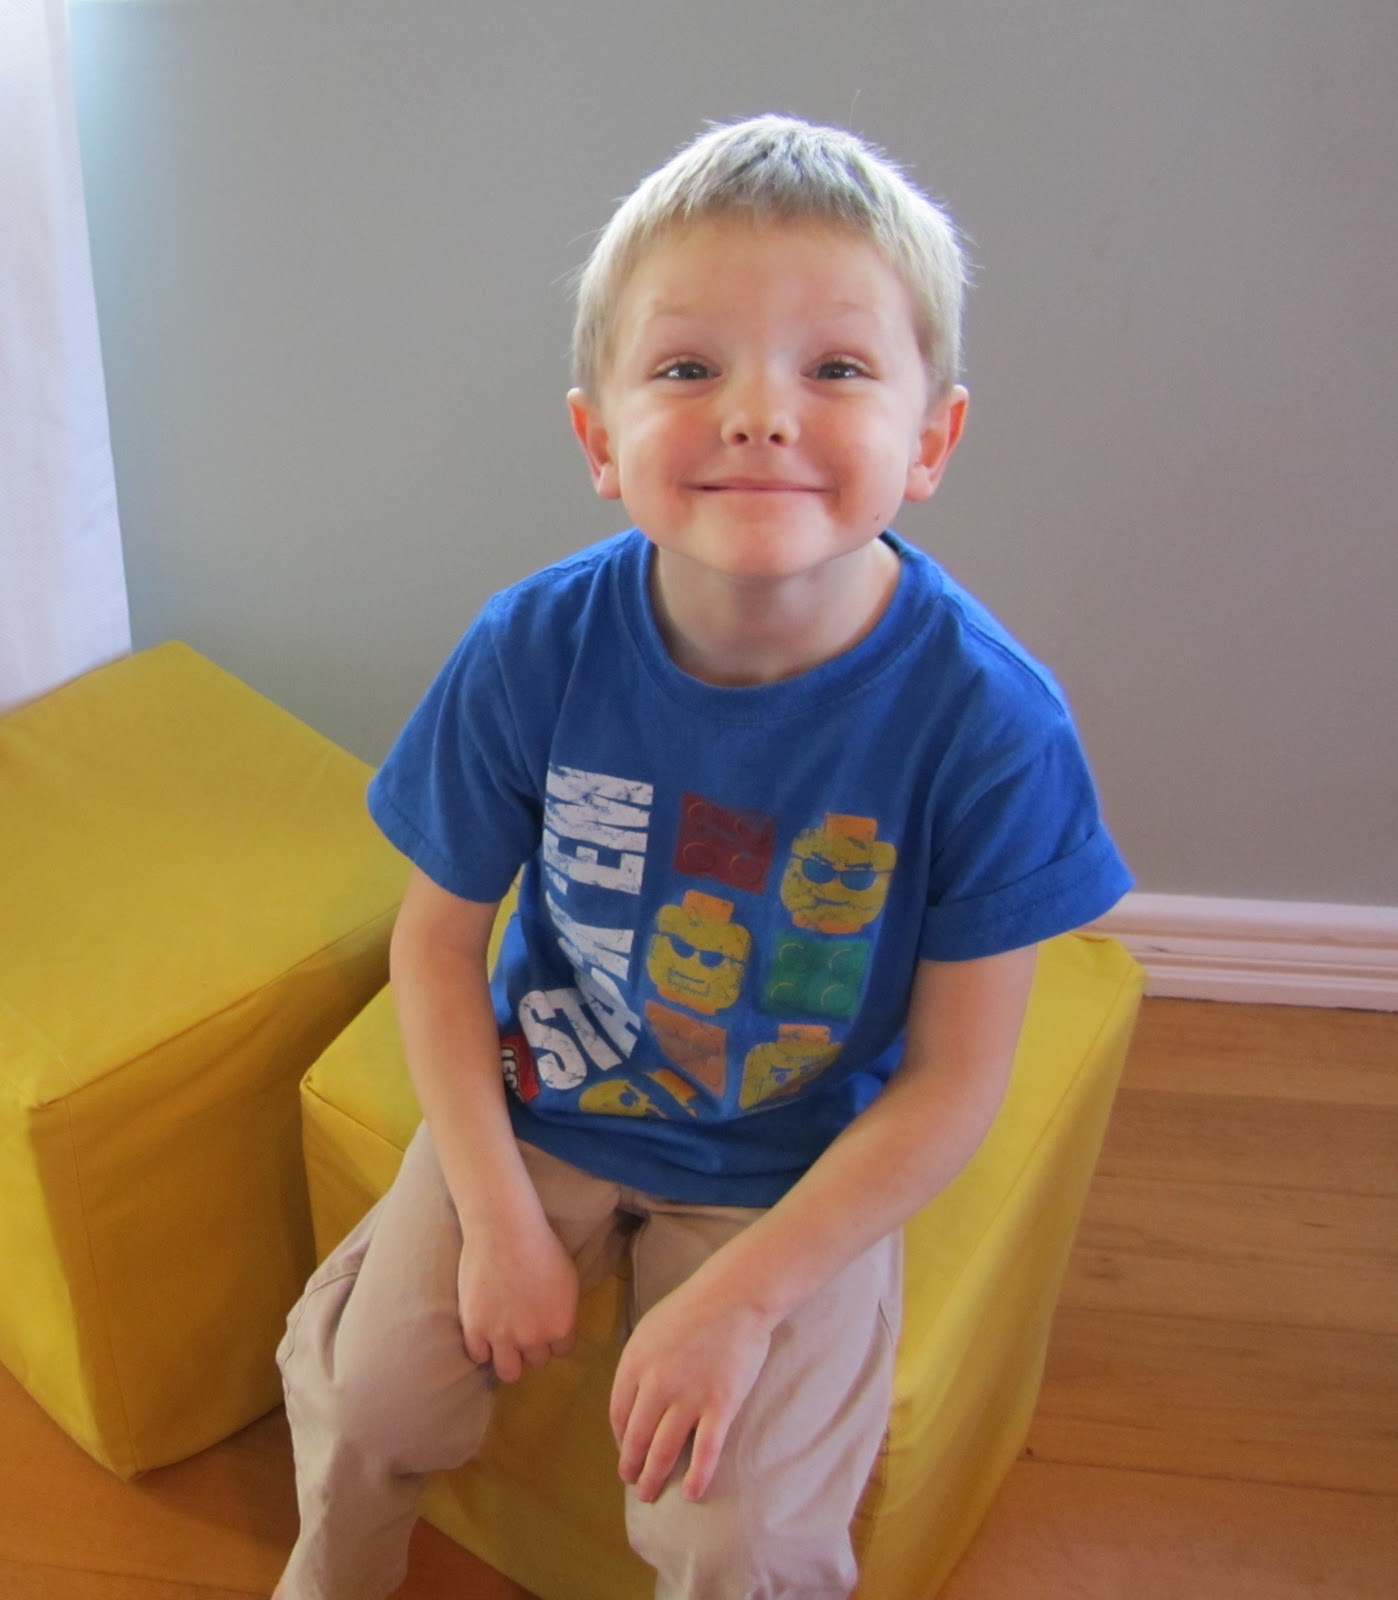
Yellow!  Happy!


Top stitching detail. 


Henry approved!

Thanks to this great, simple tutorial on Sew Much Ado I was able to whip out the first one in an evening and the second took me a little more then an hour.  What a huge difference.  They are now bright and sunny and not gross and worn. 

Notes on the project:
-the project was easy.  Seriously.  Be not afraid of the simple slipcover.

-the hardest part was the measuring.  Since my ottomans are foam based and old the edges aren't exactly sharp, more rounded, but not evenly.

-I didn't want to topstich the seams and had to talk myself into following the tutorial exactly.  Very glad I did.  It isn't that noticeable, but it makes the project look finished in a way that it wouldn't without that step.

-I Velcroed mine to the bottom so I could take them off and wash them as needed.  I might need to add some more Velcro- I had just done the corners, but it's been a week and the covers are shifting a bit more then I like.  We'll see.

-Seriously want to slipcover the couches in the playroom now...

-Cost was $4.99/yard for the yellow duck cloth on sale. I used about a yard and quarter.  The Velcro I had on hand, but had to buy thread to match in that same bright shade.  Total: $6.90-ish, plus about three hours.

Verdict:  Love them!  I made something useful and attractive.  Made me want to kiss my sewing machine. 

Upcoming Projects: Not Yet Blogged

a rundown of what I've been up to: DIY wedding dress, "Back to School Night" decor, Flower Arranging for the Incomptent, more jam labels, a dog bed solution, paper embroidery, flying pig needlework, attempting to scrapbook, make your own board game kit, Link from Zelda costume, organinzing for homework, and how to build an afterschooling program!

how to declutter after a death... and how not to do it

what do you do with all your fat clothes? Make doll clothes!