
On to those other crafts I really have no business doing! I take the kids to the library pretty often which makes me a good mom. However, I frequently return books late which makes me a bad library patron. This character flaw persists despite the fact that I spent years working in libraries. Blog confession: I had to pay for a book I checked out from UC Berkeley- WHERE I WORKED- because I lost it. See? Bad library patron. And awkward conversation with your boss.
I want to instill the same love and respect for books and learning in my children that I have, but would prefer if they didn't inherit my poor return habits. I also hate realizing I need to return the books and then having to tear apart the house in a frenzy (because they are late) trying to find them. I needed a spot to keep them all together and a reminder of when they are due. So this is my solution:
 |
| No more misplaced or overdue library books! |
It started life like this:
 |
| The wood looks pretty nice in this picture. It is not. |
I bought the magazine rack at an antique shop in town. Thrift shops seem to be littered with them, they must have been a '70s household staple, but like ashtrays that also clutter up second-hand shops, nobody uses them anymore. As a nation we've apparently quit smoking and canceled our magazine subscriptions. I was able to talk the owner down to $5 by playing the "hey, I'm a local, possible return shopper and I've got cash" card. Sometimes it is good to live in a tourist town. I liked the shape of it, with the little cutouts and it seemed sturdy enough for books. A lot of the other old magazine racks I'd found had slat sides which I think can look a little messy once things are in them. Unfortunately, when I got it home I saw that the dark wood grain was hiding some flaws. There was some warping in the wood and some general gaping. But I figured that was fine since I was going to paint it anyway.
After seeing some of the amazing things people do with spray paint I decided I'd rather try that then break out my waterborne enamel. Benjamin Moore Impervo is my secret love. Last year I painted all of the dark redwood trim in my 4,000 sq ft house with it, but enamel is a lot of work. Spray paint was fast, but it doubled the cost of the project pretty much. I'm not sure if it was the fault of the less then perfect condition of the wood or my spray paint inexperience, but I got some weird cracking on my second coat (I waited 24 hrs in between so it wasn't wet). It ended up looking like I'd glazed parts of the finish which is really not me. I considered sanding it and repainting but I'm lazy, as discussed earlier, and so I just let it be.
 |
| The trigger is nice, but it's only 12 oz which isn't much. I'll try a different brand next time. |
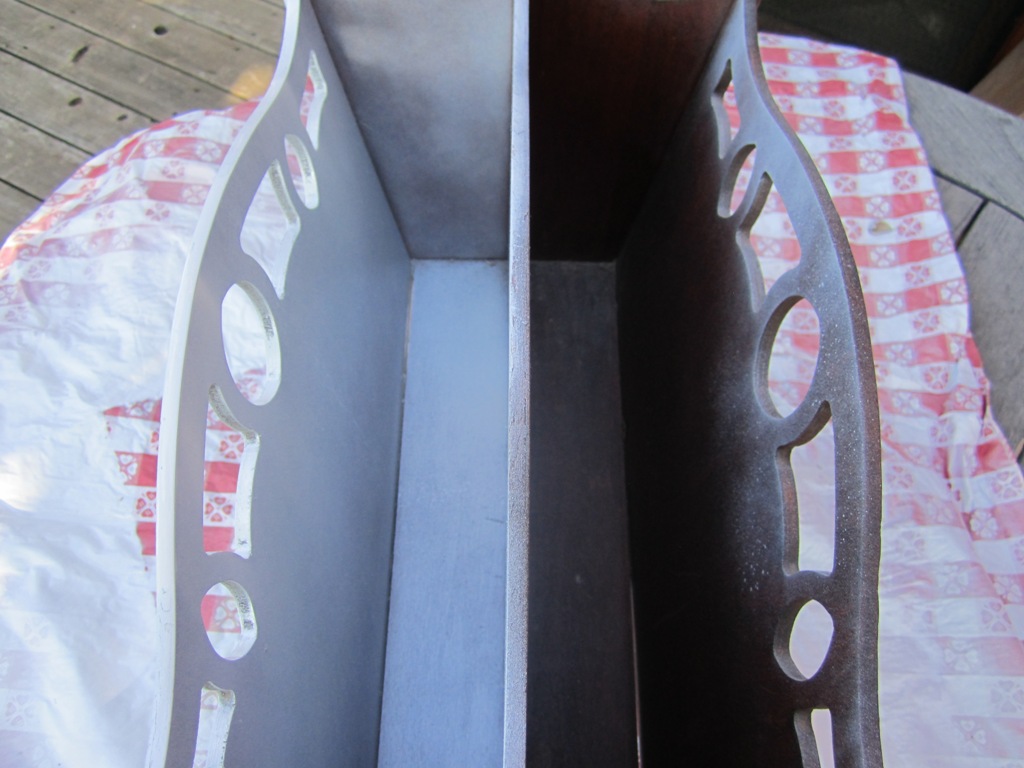 |
| First coat. At the bottom you can see some of the gapping. |
After another day of drying I taped off squares and painted them with chalkboard paint. I've never used chalkboard paint before although I've had this can for months now. The consistency is a little weird. It's thick and has the viscosity of watered down pudding. It's latex based so when I dripped on my work table I was able to wipe it up easily which was nice. I used a foam brush to keep brush strokes to a minimum. Even with my careful application, the paint bled in the wood grain, seeping into some, but not all, of the grooves. Uneven and not cute. Again, not sure if my taping wasn't up to par or if the wood was just not meant to take it. My sharp squares weren't too sharp. I nearly gave up on the project at this point. It wasn't turning out like I had figured in my head which is why there are no pictures. I waited another day and then decided to try to salvage it. I used a smaller brush and just painted bubbly circles over the bleeds. Again, not me. I wasn't feeling it at all.
 |
| You can see some of the uneveness in the wood and the crackling in the paint in you look close, bottom right hand corner and middle at the top. |

You have to wait 3 days to condition the chalkboard surface (you just rub it with the side of a piece of chalk to build up dust- doing it I remembered seeing teachers in elementary school do this after their boards were washed once a year). The result of the conditioning is what saved the whole thing for me! So, tip for beginners: chalkboard paint doesn't have half the charm without the chalk. It made a huge difference in the feel of the piece. The stark black and white was transformed into a well loved schoolhouse-inspired look that made the effort worthwhile. It's not perfect, but it is exactly what I needed. It's imperfection will just keep me from freaking out when it gets knocked over with a soccer ball.


Cost: Took about 6 days to finish because of drying times. $5 for the piece, $12.50 for the spray paint. I already had the foam brush, chalkboard paint (and used very little of it) so I'd say, total was less then $20. Will probably pay for itself in avoided library fines.
Verdict: Cute! Useful! Book-a-rific! I need to work on my spray paint skills and now have to come up with something to do with the rest of that chalkboard paint...
BONUS: Here's a tip to make your local librarian happy- pass the books across the desk and don't return them in the drop box if you possibly can. Emptying those boxes is a pain in the ass, especially if you are already standing behind the circ desk with a bar code scanner in your hand.
Linkys!


